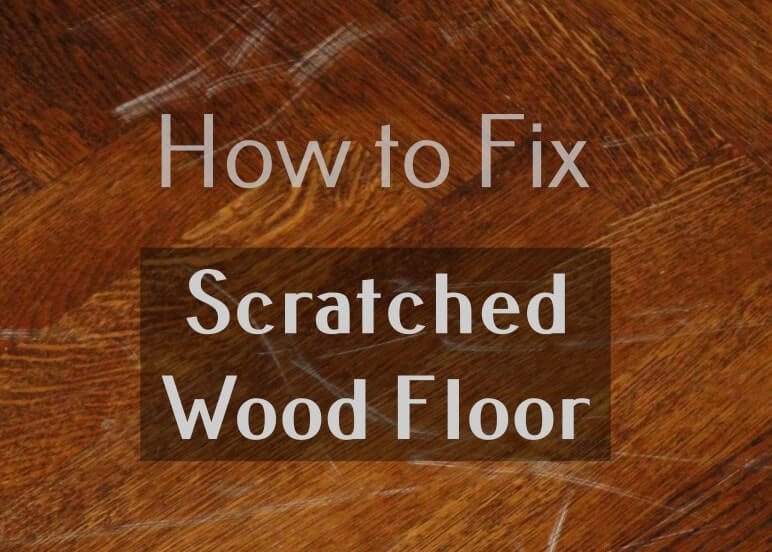
The hardwood floor gives a natural look to your house, which is nice if you love it to be so. However, wood flooring can be prone to scratches, dents, or any physical damage alike.
However, how to fix a scratched wood floor? If you have been wondering about this, you have come to the right page. Let’s learn how to fix this problem using simple solutions.
How to Fix Scratched Wood Floor
The simplest way to remove scratches is to detach the old one and put the new one onto it. But that requires you some cash to purchase the new flooring. Is there any solution that requires less money?

Of course, there is. However, this will require you to spend some energy to fix your floor. For more explanation about the procedure, you can see that in the following list.
Fine scratch
If you are dealing with some fine scratches, you don’t need to worry much about it. Prepare a sandpaper, and you can sand the scratch for not too long until the scratch seems to be flattened out.
The next step to re-beautify your wood flooring is to supplement the floor with a color marker. For this, you will need to purchase a wood stain as matching as possible. You can test the colorant first in a non-apparent area of the floor, like under the sofa or maybe under your bed.
Once you are sure about the color, you can apply the marker to the sanded scratch area. If the colorant suits the color of your wood flooring, you can continue working on the rest of the scratches.
As you complete coloring, have fine steel wool, and then rub it off over the scratches. You don’t have to rub it hard. Do it lightly once the colorant is dry.
Read also: How to Hide Scratches in Wood Floors
For those concerned about the environmental impact, considering a water-based stain can be a more eco-friendly option.
Deep scratches
Dog claws or pet nails of heavy furniture scratches often make deeper scratches onto your wood flooring. For this case, you will need to purchase wood filler and fill the scratches with it. You can use a putty knife to do so. Do it carefully; smoothen it after applying the stuffing to the damaged area.
Once you apply the filler onto the damaged area, you will need to wait for it to dry. This will take at least two hours, and the more you wait, the better.
After waiting for it to dry, prepare for sanding. Get sandpaper and sand the filled area gently. Make sure not to sand the surrounding flooring area. Finally, you can stain or color the filled flooring crack. Make sure to test the color first before applying it to the wooden flooring.
These days, it gets easier to do wood floor scratch repair. Besides, you can hire someone to do it, and the materials required to repair also get easier to obtain.
You can even get a wood floor scratch repair kit as well. Purchasing this type of kit will ease you to repair the wood floor as you have all the materials prepared for you.
For fine scratches, another method involves using blending pencils or a mixture of baking soda and olive oil. Mix a tablespoon of baking soda with enough drops of olive oil to create a paste. This mixture is particularly effective for scratches that have penetrated the surface but are not too deep.
In cases of extensive everyday wear and tear, a more intensive treatment may be needed. A concoction of apple cider vinegar and olive oil can be an effective home remedy for nourishing the wood and masking light scratches. Remember, regular maintenance and immediate attention to any damage can keep your hardwood floor looking splendid for years to come.
So, how does this explanation to fix scratched wood floors sound to you? I hope the explanation helps you fix the scratch in such an easy way.


