Due to intense use, your electric water heater may be worn out. That way, you should replace your water heater heating element. However, if your water heater is already working for a long time and starts showing some problems, like it taking too long to heat the water or even not working despite it being turned on, consider testing the heating element.
This article will show you how to check and test the water heater element using a multimeter.
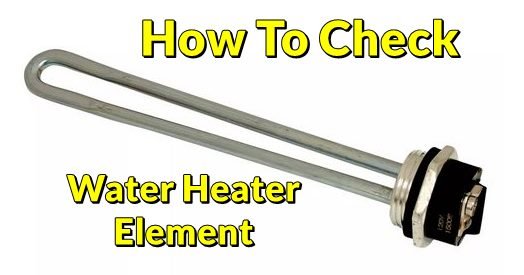
How to Check if Water Heater Element is Bad
The faulty heating element is linked with several heating issues in your water heater. As earlier said, if your water heater shows signs such as the long heating time required or even unheated water even after a while, you better check whether your water heater heating element has gone wrong or not. Below, you will find how to prevent water heater element.
- Prepare these items:
- Digital Multimeter
- Screwdriver, and
- Non-contact voltage tester (optional)
- Then, shut the electricity off. Since testing your water heater element requires working with electricity, it’d be necessary to turn off the power to ensure your safety while working. That said, disable all powering circuit breakers before proceeding to the next step.
- Remove the outer metal covers using your screwdriver. The metal covers house the upper heating element and the thermostat. So, you got to do this to check the condition of your water heater element.
- Next, remove the insulating materials and plastic covers. The insulating materials can be fiberglass, foam, or, as said—plastic.
- Continue by locating the heating element on the side of your water heater. You can find the thermostat first since it’s easier to locate. It is a rectangular item with several wires connected to its side screws. Below it is the heating element.
Read also: Solutions Regarding Tripping Circuit Breaker
But you cannot take the entire element out. Only a tiny portion of it will be visible, and you will see that the element has two screws with wires. This is exactly where you are going to do the test.
- Using a voltage tester (or a multimeter), verify that the heater isn’t powered with any electricity again.
- Then, reattach the wires and take your multimeter to check the water heater element with your multimeter, setting it to the ohms setting. Further steps will be explained in the following subheading. This step will teach you whether you need to change the element. If so, learn first how to replace the water heater element.
- When you’re done, reassemble the items building the water heater properly.
Read also: How to Replace Water Heater Element without Draining
How to Test Water Heater Element with Multimeter
- Take your multimeter and set the dial to the lower ohms setting (resistance). The circuit’s resistance determines the functionality of that heating element.
- Then, let the red probe of your multimeter touch the center of any screws on the heating element. While for the black probe, let it feels another screw.
- Now, read the measurement. If it reads around 10-30 Ω, then your heating element can still work correctly, and it may be another problem causing the problems. If it is lower than the number above, it’s time to replace the water heater element.
That wraps up the procedure of checking and testing the water heater element using a multimeter. If this sounds too difficult, you can consider having help from a professional. Remember, a well-maintained electric water heater can ensure a continuous hot water supply.
However, if your home uses a gas water heater, the process to diagnose issues may differ, emphasizing the importance of understanding your water heater’s specific maintenance needs.


