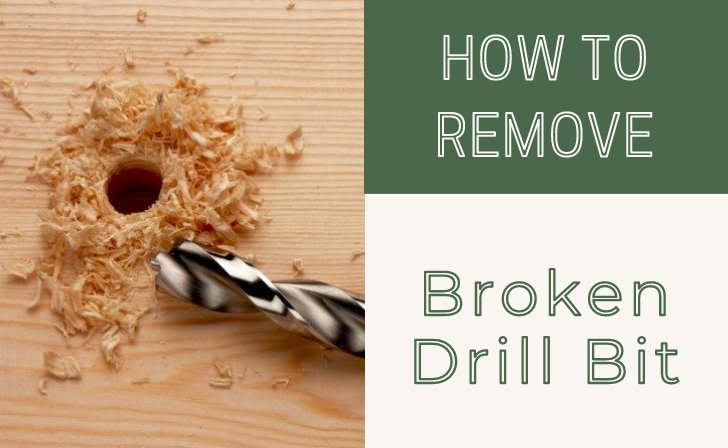
You may want to remove broken drills from wood when repairing your house. However, what happens if the drill is difficult to remove? Of course, it will frustrate you. However, you can use a tool to remove it, namely pliers. If you can’t, you can use a set of extractors.
Then, how to remove a broken drill bit from wood? Well, for those of you who are removing broken drill bits for the first time, here we provide a guide for removing them.
Method 1: Pull the Broken Drill with Pliers and Lubricating Oil
The first method related to how to remove a broken drill bit from wood is to use pliers. You can remove the drill bit that broke off in the wood using a wet or clean cloth.
Read also: How to Remove Scratches from Wood Flooring Easily
Clamp the broken drill bit with the pliers. Place the jaws of the pliers on the broken drill bit. Then press the handle firmly. Press the handle until the jaw locks and closes tightly at the fracture.
Next, turn the pliers clockwise to loosen the drill bit. Keep the pliers tightly closed on the tip of the broken drill bit. Then, turn it counterclockwise. This will make the drill bit stuck in the wood loosen. After loosening, turn the pliers again to remove the drill bit.
At first, turning the pliers may be quite difficult to do. But it gets easier when the damaged drill bit starts to loosen. You can apply lubricating oil to the drill bit to help it loosen more easily. If using lubricant oil, do not pinch or bend the pliers. If you do this, the drill bit tip will break and become more difficult to remove.
If the drill bit is loose and ready to be pulled, then pull the drill bit slowly. Keep turning the pliers until the drill bit is almost out. When all the drill bit threads are out, gently shake the drill bit and pull it out.
Make sure you don’t pull out the drill bit. If it is still too difficult to remove, keep turning until the drill bit becomes loose enough to pull.
Method 2: Use a Screw Extractor
If using this tool, make sure you use safety glasses. This is to avoid extracting small pieces. Here are the steps to take the drill bit with a screw extractor.
- Chisel any jagged edges of the damaged drill bit. Keep chiseling until the surface is flat.
- Divot the bit with the center stroke. You can use a hammer to make it.
- Insert the small drill bit into the electric drill, then grease the tip with oil.
- Drill 4 inches deep into the damaged drill bit.
- Then insert the faucet extractor into the drill bit.
- After that, turn the extractor counterclockwise to remove the drill bit.
Additional Tips: To Avoid Drill Bit Damage
Now, that you know the two methods, we will provide tips so you can avoid damage to the drill bit later.
- Lubricate the drill bit before use when you want to drill anything.
- Insert the drill bit deep into the drill.
- You must also replace the drill bit properly. Tighten the chuck fully each time you install a new bit.
When drilling, drill at a slow speed to avoid adding pressure and heat to the drill bit. This will prevent the drill bit from breaking easily.


