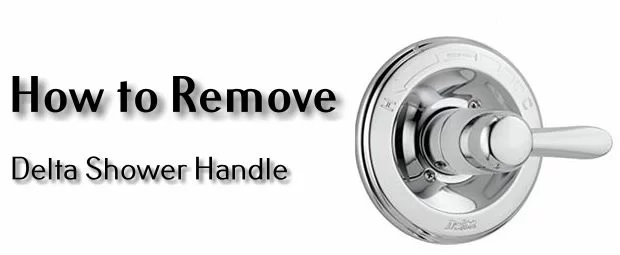
Delta is one of the most well-known brands of shower faucets due to its quality, design, and lifetime warranty. That being said, if your Delta shower faucet is broken and needs replacement, you can solve the problem yourself.
Before you can replace the item, however, you need to know how to remove the Delta Shower handle, the steps of which will be explained below.
How to Remove Delta Monitor Shower Handle
To discover the fault on your Delta shower and proceed to do the maintenance, it is necessary to disassemble the handle first. Here’s how you can take off the handle of the Delta Monitor shower:
- Close the water flow from the faucet to the main water source.
- Using the right Allen wrench, release the set of screws on the handle. Start by removing the small cap on the handle’s base of your Delta Monitor shower, then continue with the handle of temperature control, followed by pulling the screw carefully.
- If the bonnet cannot be removed easily due to sediment accumulation, use channel-lock pliers or the trim sleeve to remove it. Ensure that the stop cap is positioned back to its original position.
- Pull the cartridge rearwards and lift it off from the head of the shower faucet. Hold the top part of the cartridge cautiously using channel-lock pliers, especially if it is clung hardly to the faucet.

Personal Experience and Additional Tips
From my experience, while removing the Delta Monitor Shower handle, I found that sediment accumulation can be a significant obstacle.
The bonnet was so tightly stuck that I had to apply a considerable amount of WD-40 and let it sit for about an hour before it loosened enough to be removed with pliers. Additionally, having a second pair of hands to stabilize the faucet can be incredibly helpful.
How to Remove a Stuck Delta Shower Faucet Handle
The scale may build up underneath your Delta Shower Faucet Handle, particularly if the handle is old, for example, if you have a 25-year-old Delta shower faucet. You can use vinegar to dissolve the scale to remove a stuck shower faucet handle. Follow the steps below:
- Insert some distilled white vinegar inside a spray bottle.
- Liberally spray the vinegar onto the underneath part of the handle. Do not worry if the vinegar drips; it won’t harm anything.
- Wait for at least 30 minutes before you wiggle and pull the handle.
- Repeat the 2nd and 3rd steps above if the handle is still struck.
In some cases, the vinegar method might not be sufficient. Here’s a method I learned from an experienced plumber:
- Use a handle puller tool, which can be found at most home improvement stores. It is designed to remove firmly stuck handles due to corrosion or scale buildup.
How to Remove Delta Shower Handle Knob
Depending on your faucet type, you may have single or double knobs. Either way, the process of removing the knob is actually quite easy. Read and follow the guide below:
- Temporarily cut off the water supply beneath the sink. Spin the Delta shower faucet handles to ensure the water flow is off, and drain any water from the faucet and lines.
- Yank the plastic disc located on the top of the handles by using a flathead screwdriver in a small size to expose the screws of the handle.
- Release the screws of the faucet handle to remove the acrylic handle. Take out the handles from the faucet stems to show the retainer nuts.
- Using pliers, spin the retainer nut counterclockwise. Then, use your fingers to remove the nuts from the shower faucet.
- Remove the stem from the shower faucet and spin it to 180°.
Removing the shower handle is quite easy, even if you aren’t familiar with home improvement projects. If you correctly remove the Delta Shower handle guide above and use the correct tools, it will be done in no time.
Read also: How to Remove a Stripped Allen Screw?
Personal Experience and Troubleshooting Tips
In some of my DIY plumbing projects, I encountered situations where the handles were extremely difficult to remove. Here are a few tips that I found helpful:
| Problem | Solution |
|---|---|
| If replacing the handle, don’t worry about damaging the old one; use pliers to bend and remove it carefully. | Use a handle puller tool or carefully pry from the backside. |
| Sediment buildup | Soak the handle area with vinegar or use a commercial scale dissolver. |
| Corroded screws or nuts | If replacing the handle, don’t worry about damaging the old one; use pliers to carefully bend and remove it. |
| Handle damaged during removal | The handle won’t budge |
By sharing these personal experiences and troubleshooting tips, I hope to provide more practical guidance and assurance that even seemingly tough tasks can be accomplished with the right approach and tools.


